Recently, I had to set up a kiosk mode on a NanoPi M1 Plus with a 5" display attached. Kiosk mode, in this case, means starting a browser in full-screen mode.
Here's a short tutorial on how to set this up. The guide mentions some NanoPi-specific tasks, but overall, this should work on any Debian-based Linux system.
Burn Armbian Image to SD Card 
As the operating system, I use Armbian, a minimal Debian-based Linux for ARM computers.
The latest version can be downloaded from this address:
https://dl.armbian.com/nanopim1plus/Debian_stretch_next.7z
Unzip it and burn it to a micro SD card. On Windows, my go-to tool for this task is Rufus. Plug in the SD card and boot the NanoPi.
When the NanoPi starts up, it requests a dynamic IP address from a DHCP server on the network. To find out
what IP address it got, you can scan the network with a tool like Angry IP Scanner or with nmap on Linux.
Open an SSH connection to the NanoPi. In my network, the NanoPi got the address 192.168.2.13.
ssh root@192.168.2.13
The first time you log in to an Armbian system, you have to change the root password.
Optional: Install OS on the Internal Flash Storage 
This next step is optional and specific to the NanoPi. The NanoPi has flash storage built-in on the motherboard, and instead of using the Micro SD Card, it was a requirement to install the operating system on this internal flash storage.
These steps download the image again and burn it to the internal storage (/dev/mmcblk1):
wget https://dl.armbian.com/nanopim1plus/Debian_stretch_next.7z -O image.7z
apt-get install -y p7zip
p7zip -d image.7z
dd if=Armbian_5.65_Nanopim1plus_Debian_stretch_next_4.14.78.img of=/dev/mmcblk1
shutdown -h now
Remove the Micro SD Card and boot the NanoPi. This starts Armbian from the internal flash storage. Open an SSH connection and change the root password.
Install Kiosk 
Now, we continue with the standard installation. First, we update the installed packages and then install the X Window System, Openbox (a window manager), and Chromium.
apt update
apt full-upgrade
apt install xorg xserver-xorg-legacy openbox chromium
Next, we change settings in the Xwrapper.config file:
nano -w /etc/X11/Xwrapper.config
Change the existing line with allowed_users and add a new line with needs_root:
allowed_users=anybody
needs_root_rights=yes
Create a new user. The following startup script will run with this user.
useradd -m kiosk-user
Create a startup script:
nano /opt/kiosk.sh
Insert the following statements. This script starts the window manager Openbox and the Chromium browser.
#!/bin/sh
xset dpms
xset s noblank
xset s 300
openbox-session &
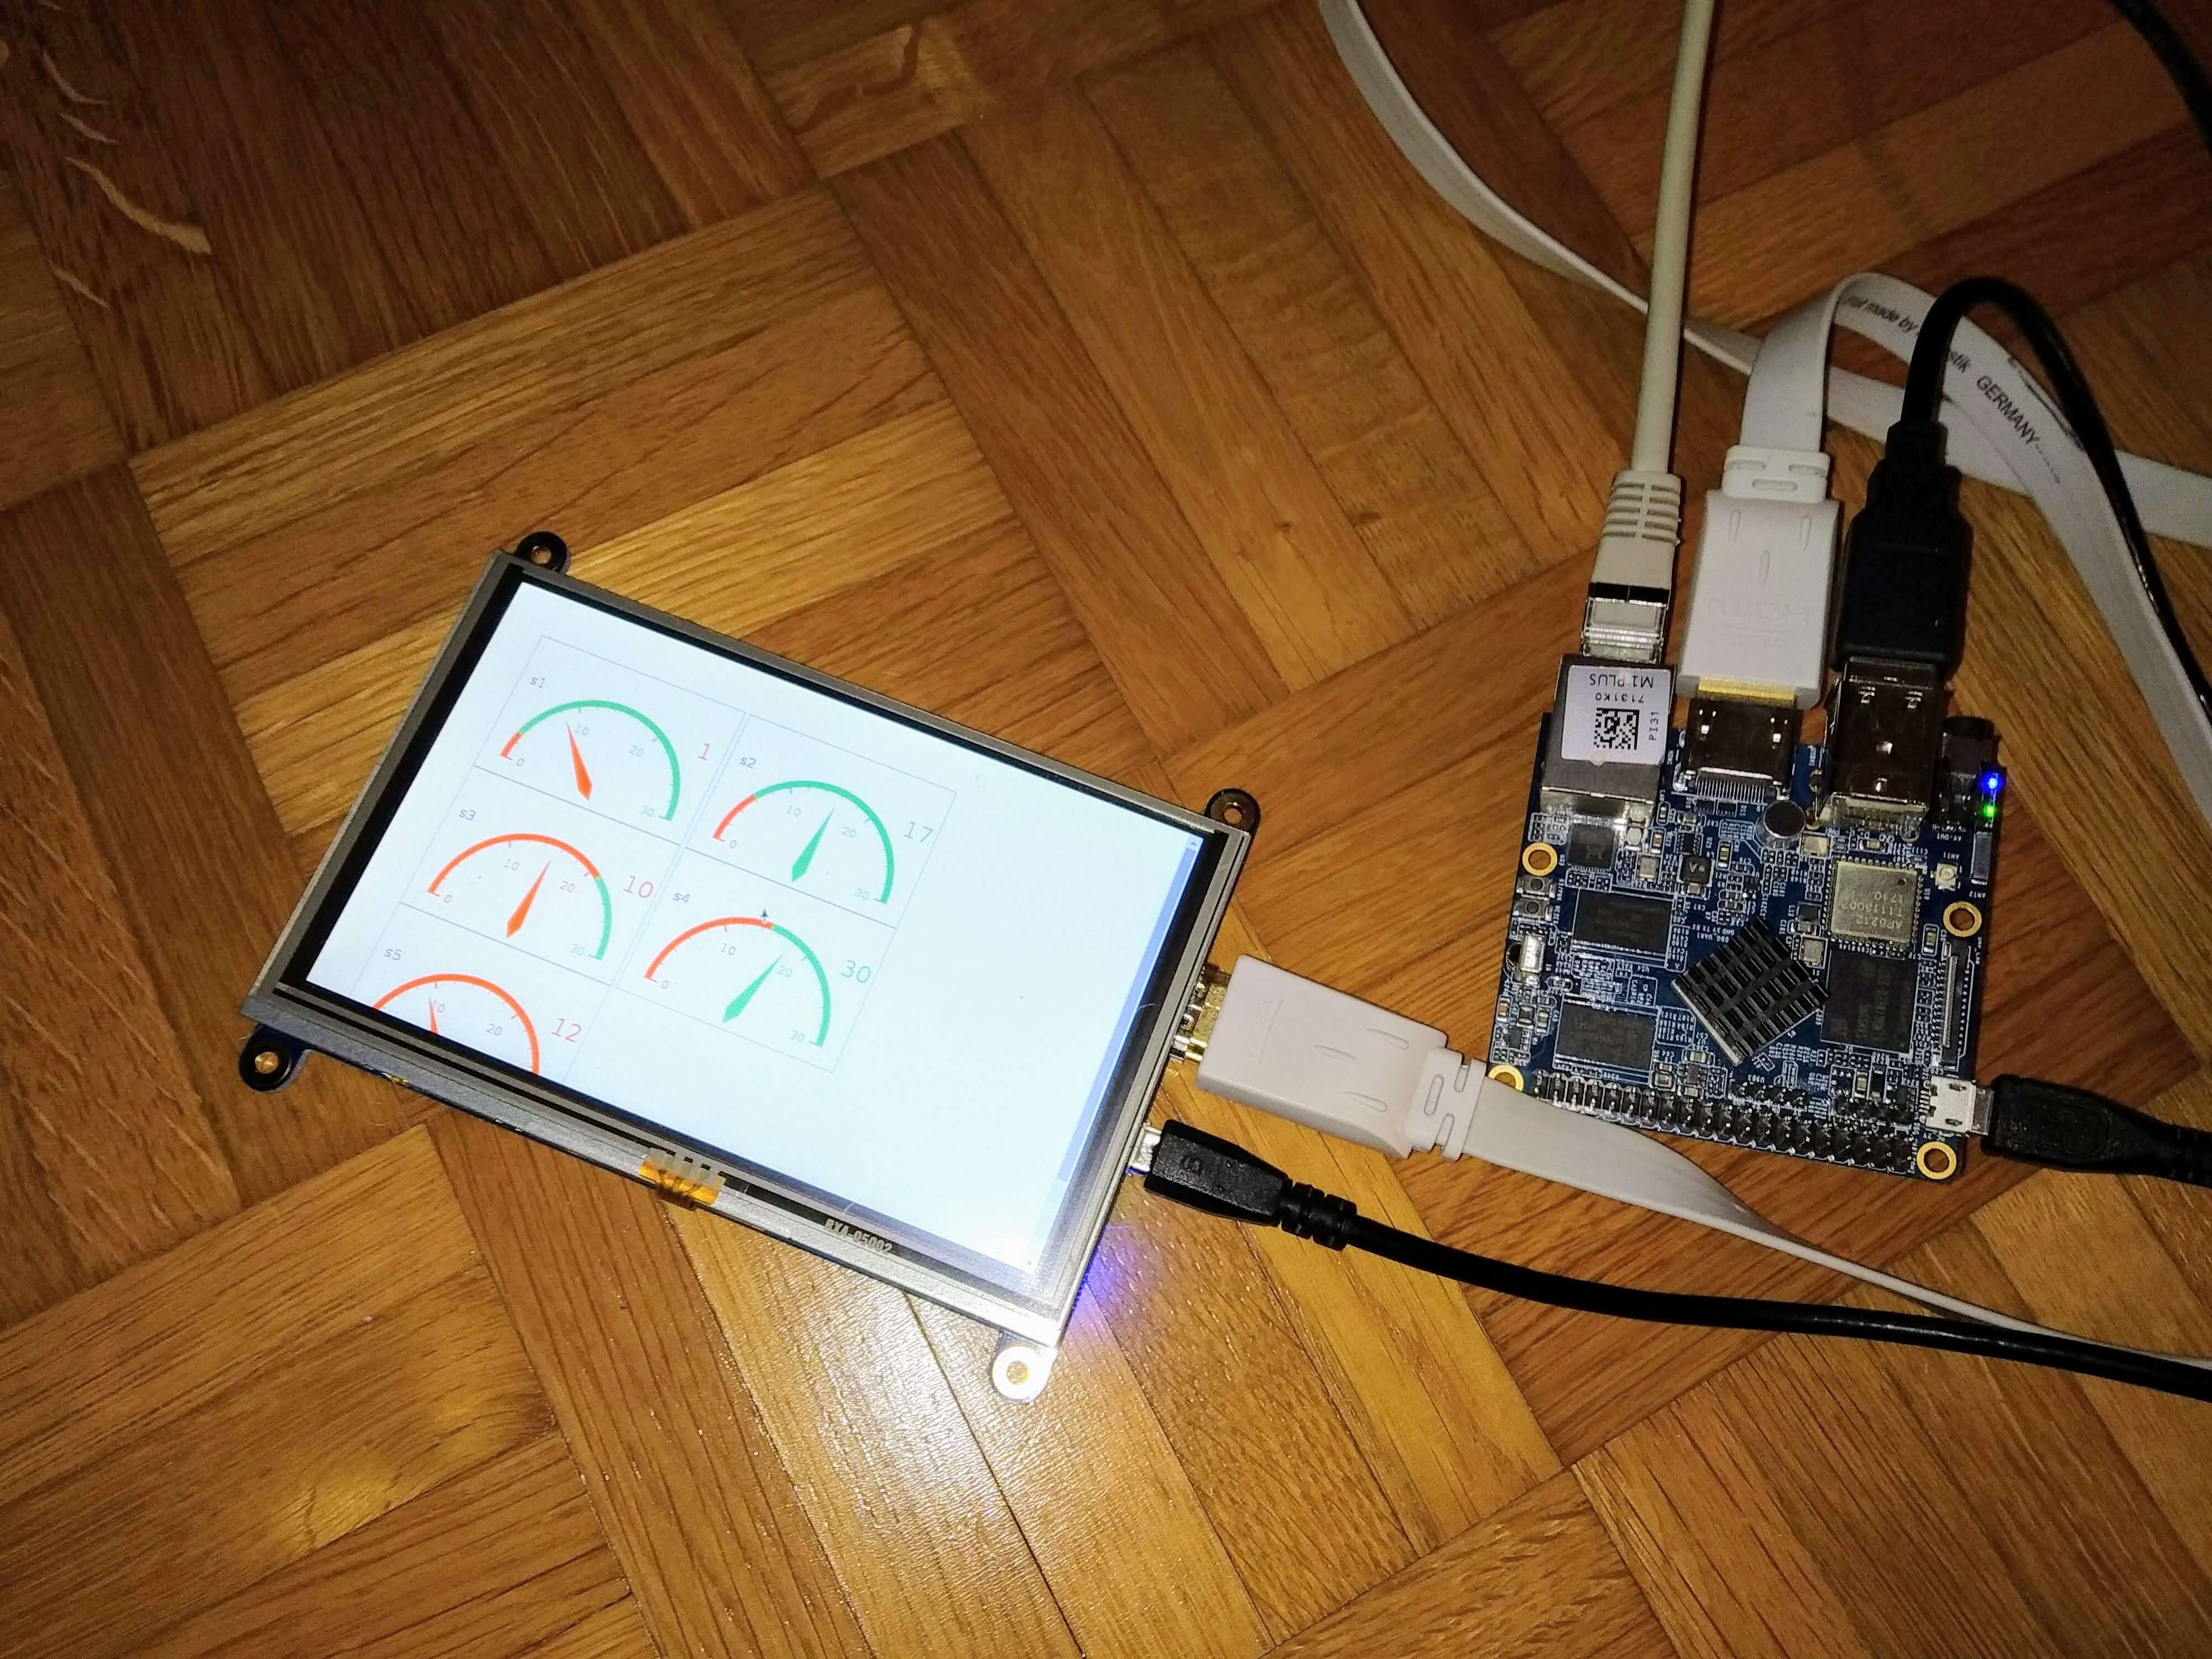
chromium --no-first-run --disable --disable-translate --disable-infobars --disable-suggestions-service --disable-save-password-bubble --start-maximized --kiosk --disable-session-crashed-bubble --incognito https://demo.rasc.ch/wamp2spring-demo-gauge/
Make the script executable:
chmod 755 /opt/kiosk.sh
Create a systemd service file:
nano /etc/systemd/system/kiosk.service
Insert the following content:
[Unit]
Description=Kiosk

[Service]
Type=oneshot
User=kiosk-user
ExecStart=/usr/bin/startx /etc/X11/Xsession /opt/kiosk.sh

[Install]
WantedBy=multi-user.target
Reload the systemd daemon and enable the newly created service, so it will start each time the system boots up.
systemctl daemon-reload
systemctl enable kiosk
Now reboot the NanoPi. When everything is configured correctly, you should see the Chromium browser and the web page
we configured in the kiosk.sh startup script.